INTRODUCTION TO EMBEDDDED SYSTEMS 3
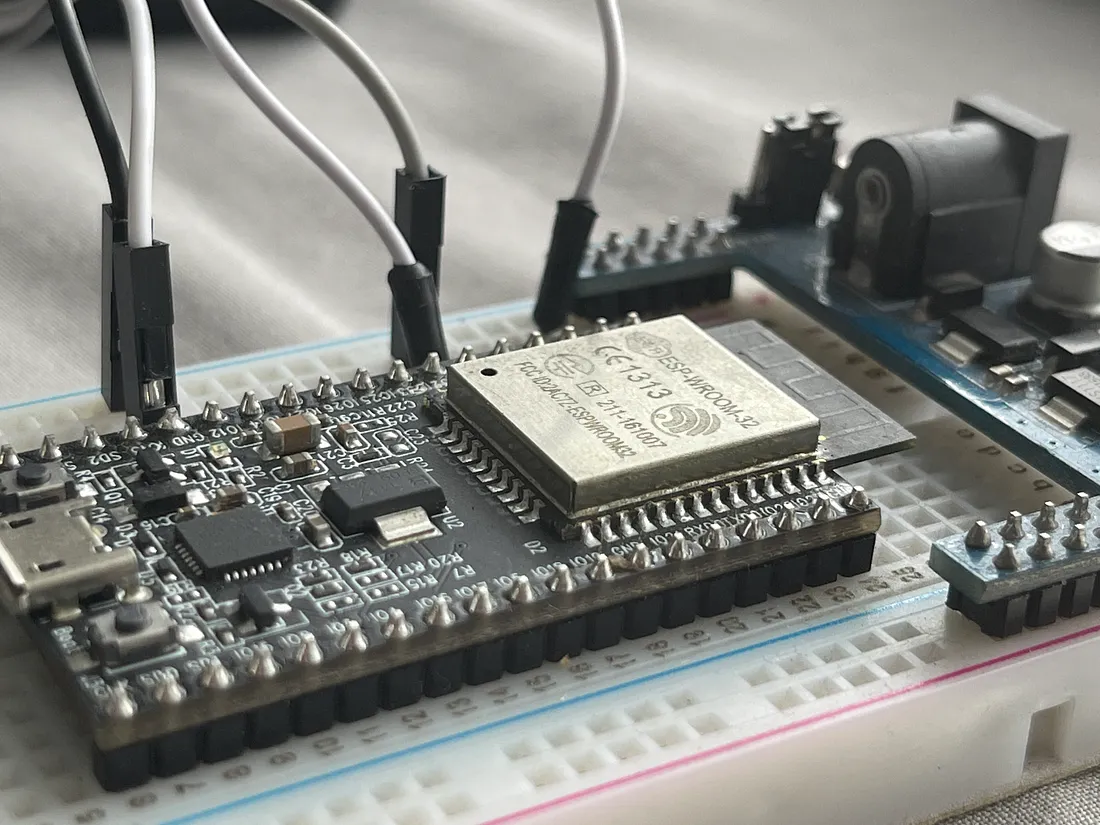
The ESP32 is a series of low-cost,low-power system on a chip microcontroller with integrated Wi-Fi and dual-mode Bluetooth.It is a successor to the ESP8266.It is majorly programmed in C/C++ but also supports Micropython.
Most times
the Arduino IDE, which can program a variety of boards, is used to upload code to ESP32s.
The following are some of the features that make this board popular :
The code that will be used here will just be ordinary Arduino code (C) that is uploaded to an ESP32.
Traffic lights project code using esp32 and red, green and yellow leds is shown below
    int red=0;
    int green=2;
    int yellow=4;

    void setup() {
        // put your setup code here, to run once:
        Serial.begin(115200);
        Serial.println("Hello, ESP32!");
        pinMode(red, OUTPUT);
        pinMode(yellow, OUTPUT);
        pinMode(green, OUTPUT);

        digitalWrite(red,LOW);
        digitalWrite(yellow,LOW);
        digitalWrite(green,LOW);
        delay(1000);
    }

    void loop() {
        // put your main code here, to run repeatedly:
        digitalWrite(red,HIGH);
        digitalWrite(yellow,LOW);
        digitalWrite(green,HIGH);
        Serial.println("Start BRAKING !");
        delay(1000);

        digitalWrite(red,HIGH);
        digitalWrite(yellow,LOW);
        digitalWrite(green,LOW);
        Serial.println("STOP !");
        delay(2000);

        digitalWrite(red,HIGH);
        digitalWrite(yellow,HIGH);
        digitalWrite(green,LOW);
        Serial.println("Remove your hand brakes");
        delay(1000);

        digitalWrite(red,LOW);
        digitalWrite(yellow,HIGH);
        digitalWrite(green,LOW);
        Serial.println("WAIT !");
        delay(2000);


        digitalWrite(red,LOW);
        digitalWrite(yellow,HIGH);
        digitalWrite(green,HIGH);
        Serial.println("Start your engines !");
        delay(1000);

        digitalWrite(red,LOW);
        digitalWrite(yellow,LOW);
        digitalWrite(green,HIGH);
        Serial.println("GO !");
        delay(2000);
    }